Home | 91 Shelby | 88 Shelby Z | Intro/What's New | Exhaust | BOV | A/F Gauge and Pod | Exterior Pictures | Stereo | Accident | Mods | Repair Page 1 | Repair Page 2 | Body Work and Primer | Paint | Wet Sand and Buff | Nermal | Friends Rides

My Shelby Daytonas

Repair Page 1

right-reardamage.jpg

Before and After

rearrepair6.jpg

repair1.jpg

right-front.jpg

Left side of work beginning just after pulling out rear.

rearrepair.jpg

After many hours the metal work was finished and the bondo could be spread.

right-front.jpg

insiderepair.jpg

right-front.jpg

Pictures of damage from inside the car after panels are removed.

siderepair.jpg

Disassembly of rear to do body repair and part replacement.

right-front.jpg

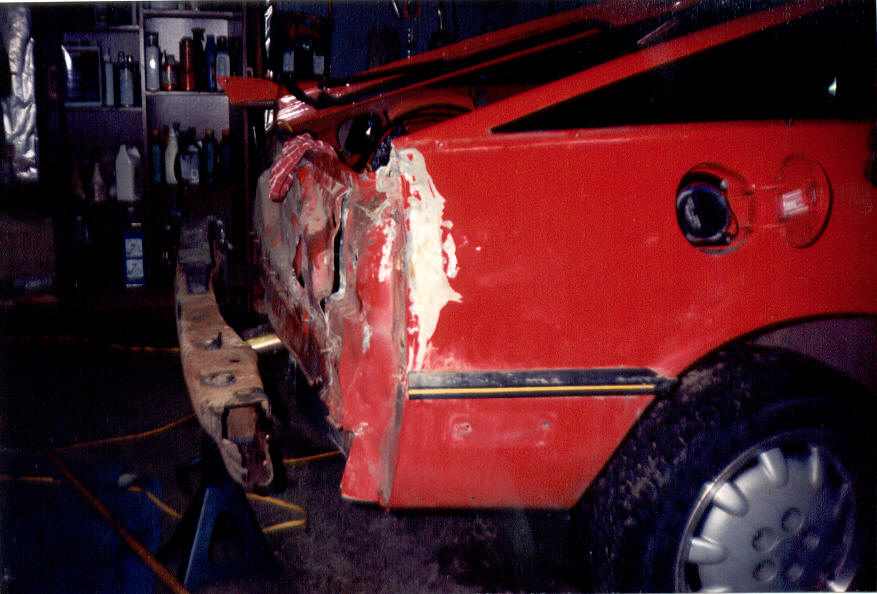
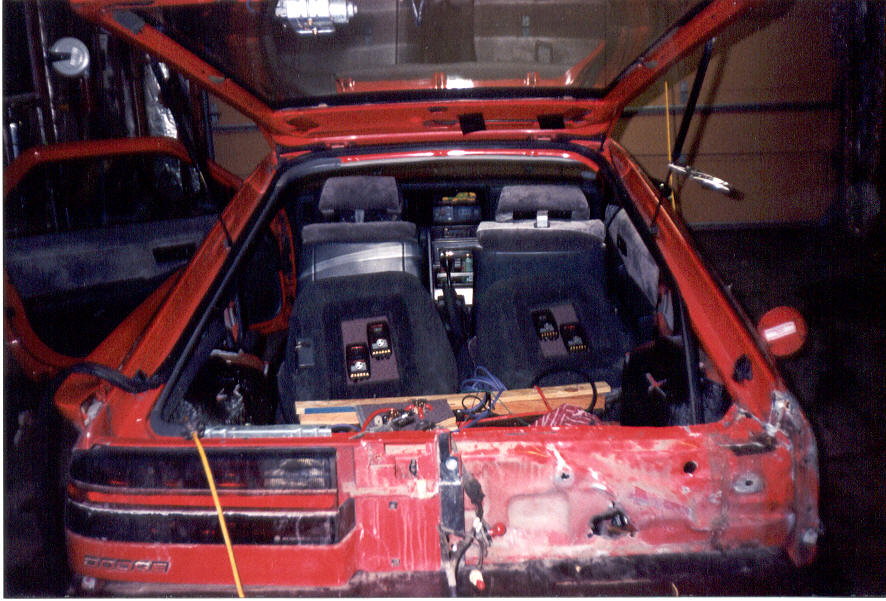
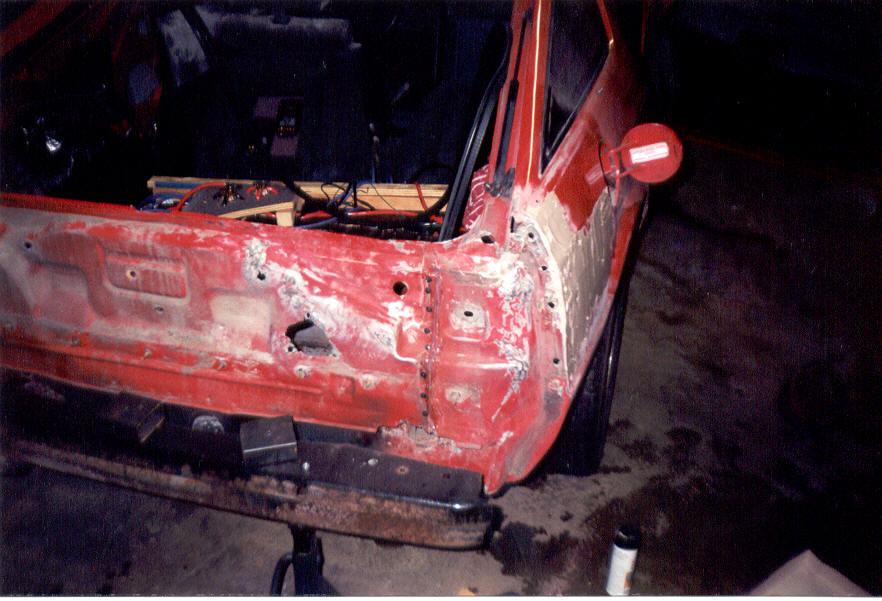
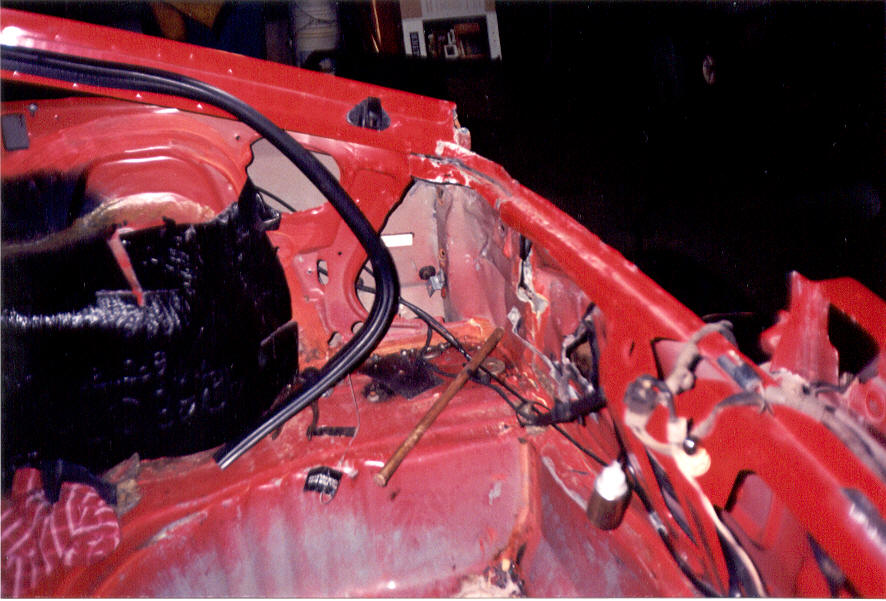
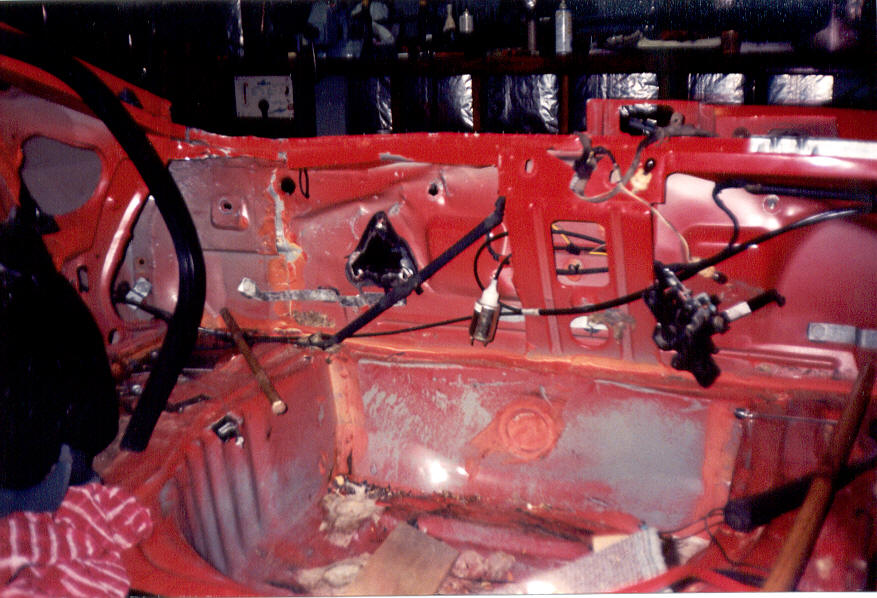
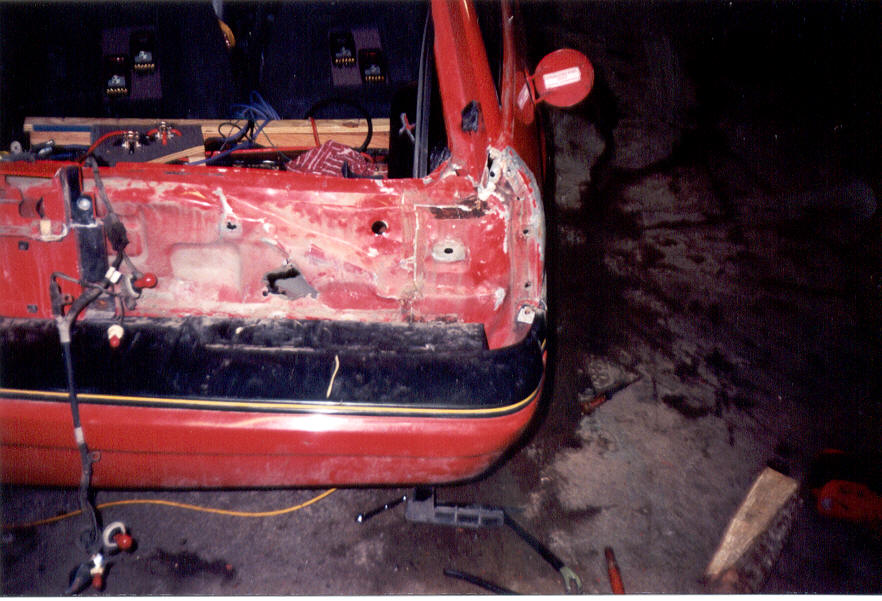
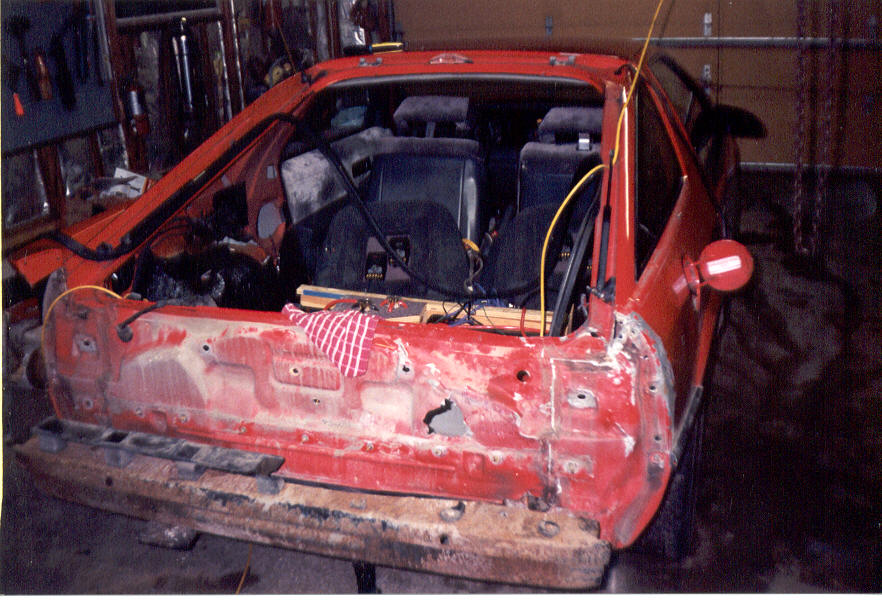
This was after about 30 hours into the repair process, you can see that some of the stereo was left in and was moved around 
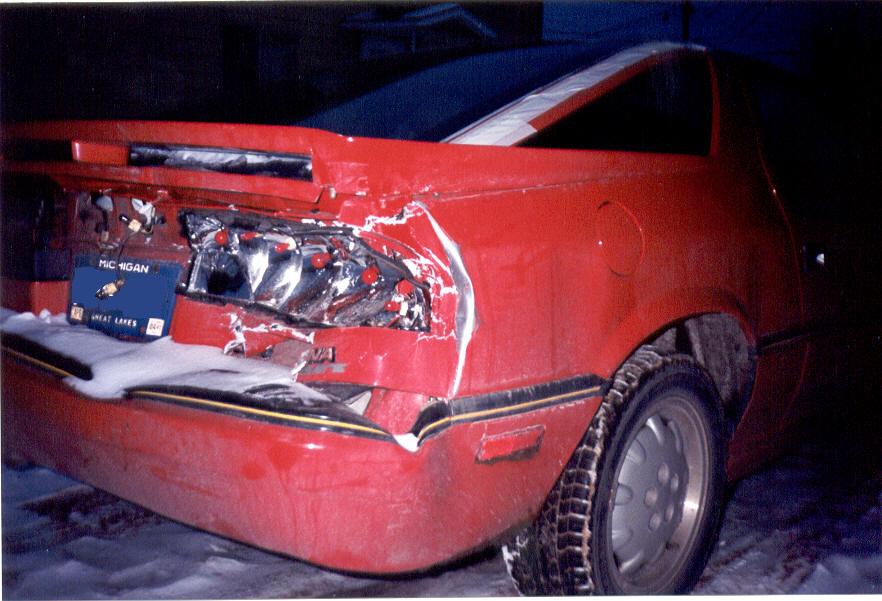
to do the work. All the rear panels were removed also. The majority of the damage occured because of the false bumper(the plastic on top of the bumper) not absorbing any of the hit, and the rear panel taking most of it along with the fiberglass sub box which was cracked in three places. His bumper was high, mine was low, doesn't work out for me very well in the end.

Front-Drive mopars and Shelby-Dodges
[ Join Now | Ring Hub | Random | << Prev | Next >> ]

g-Force Daytona Web Ring
[ Join Now | Ring Hub | Random | << Prev | Next >> ]